
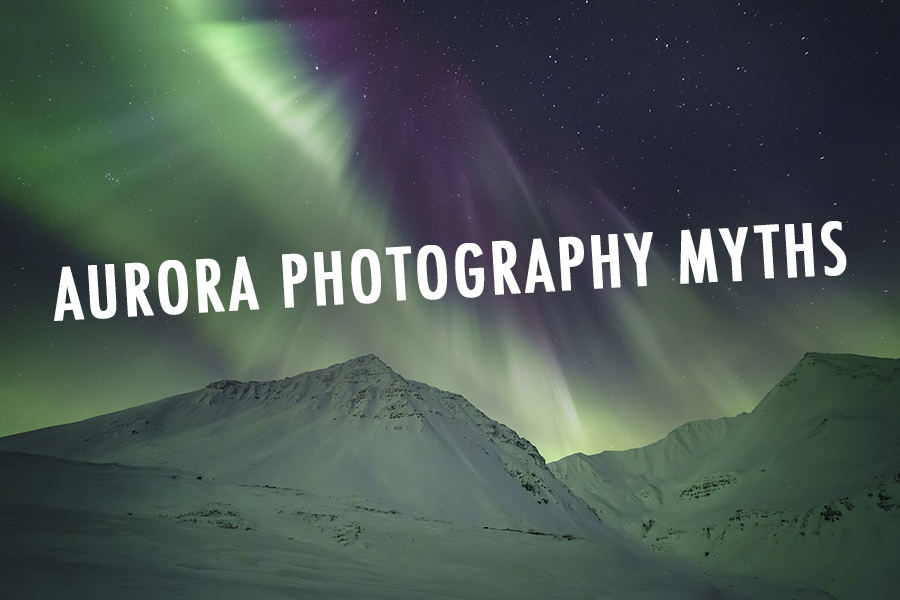
As aurora photography and tourism have become more popular, so have the myths that come with it. In this article, I cover five of the most common misconceptions about photographing the northern lights.
I spent several years living above the Arctic Circle, have photographed thousands of auroras, and was named Aurora Photographer of the Year in 2023.
Before getting into the myths, it helps to understand that there are no universal settings for photographing the aurora. The brightness, speed, and structure of the lights can vary dramatically from night to night or even moment to moment.
Quick Aurora Photography Settings (Starting Point)
For those looking for a starting point, these settings typically work well for photographing the northern lights:
Typical Aurora Settings
- Aperture: f/2.8 – f/4
- ISO: 2000 – 10,000
- Shutter Speed: 4 – 13 seconds (Any longer and you risk creating star trails)
- Lens: Wide angle (10–16mm)
These are only general starting points. The brightness and movement of the aurora can vary significantly, which is why many commonly repeated “rules” about aurora photography don’t always hold up.
Myth #1: You NEED to Have a Fast Lens
There are many misconceptions about photographing the northern lights, chief among them being that you need to buy new equipment in order to take good photos. This advice usually comes from sponsored creators or from the assumption that aurora photography follows the same rules as Milky Way photography.
The truth is that I frequently photograph the aurora with an aperture of f/3.5 or f/4. I usually only shoot wide open at f/2.8 on nights when there is very little activity.


Stopping down your aperture allows for better depth of field and often sharper images, especially if you want foreground elements in focus.
Yes, the higher your f-stop, the less light will enter the camera, but this can easily be compensated for with a higher ISO or slightly longer shutter speeds.

In fact, many of my favorite aurora images were taken stopped down because it allowed me to keep mountains, trees, or cabins sharper in the foreground.
Myth #2: Longer Shutter Speeds Blur the Aurora
This is advice that I used to believe myself, and for years I erroneously passed it along. There is a common idea that if you expose for too long, you will blur the details in the aurora. After years of testing and comparing my own images, I’ve found that this is mostly false.


The reality is that your aurora will look like a blob if the aurora itself is blob-like. When activity is weak or diffuse, no shutter speed will magically create structure.

If you have a dynamic aurora with strong vertical banding, the structure will usually remain visible even at longer shutter speeds.
The biggest risk with longer shutter speeds during bright aurora is blowing out highlights.
A common piece of advice in photography tutorials is to use the fastest shutter speed possible to “freeze” the aurora. In practice, this often leads photographers to unnecessarily dark images with excessive noise.
The aurora rarely moves fast enough to require sub 4 second exposures, and prioritizing light capture usually produces cleaner, more detailed files. In many cases, slightly longer exposures actually produce better results because they allow you to lower ISO and preserve more detail.
There are no universal aurora settings or ideal shutter speeds. The intensity and brightness of the aurora will dictate how you shoot. Personally, I usually prefer to let as much light into the camera as possible.
On extremely bright nights, I’ve even used exposures of 13+ seconds while still preserving visible structure in the aurora.


Myth #3: You Can Only Photograph the Aurora on a New Moon
There is a small amount of truth to this myth, but it is widely overstated.

Moonlight can absolutely wash out weaker aurora displays. On the flip side, it also provides the benefit of illuminating the landscape.
This allows you to shoot with a smaller aperture and capture much more detailed foregrounds, which can significantly improve the final image.


Ideally, I time aurora expeditions around a quarter to half moon, where there is enough light for the landscape without completely overpowering the aurora.
Myth #4: The Aurora Is More Impressive in Photos
Let’s get this out of the way: cameras can capture more detail than the human eye. A camera exposure combines multiple seconds into a single moment, whereas our eyes process visual information in a fraction of that time.

Because of this, photos of the aurora are often brighter and more colorful than what people initially perceive. However, on a truly strong night, the opposite can be true.
I’ve seen thousands of auroras, and counterintuitively, the brightest and most active displays are often harder to capture convincingly in photos.
As cliché as it sounds, you really just have to experience it for yourself.
Myth #5: High KP Index = Strong Aurora


For aurora guides, the KP index is probably the most misunderstood part of aurora forecasting.
Many people assume that KP measures the strength of the aurora. In reality, KP primarily measures how far south the aurora can be visible.
When I’m guiding aurora tours in the Brooks Range, directly under the auroral oval, the KP index doesn’t matter much at all. What matters far more is the Bz component of the interplanetary magnetic field, which determines how effectively solar wind energy enters Earth’s magnetosphere.
A high KP can correlate with strong activity, but this is not guaranteed. Some of the most spectacular auroras I’ve ever witnessed occurred on nights with very little forecasted activity at all.
The best strategy is to be outside, be patient, and be ready.
If you’d like to photograph the aurora yourself, consider joining me on an expedition to Alaska.

Leave a Reply