
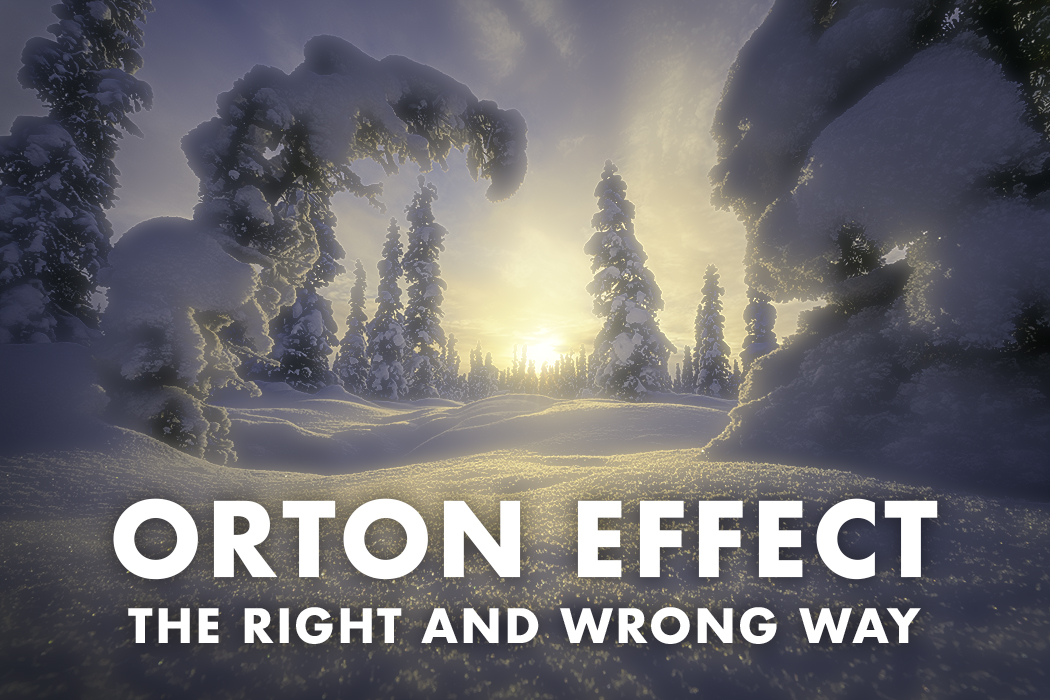
If you’ve spent any amount of time looking at landscape photography online over the last decade, you’ve almost certainly seen the this glowy, almost dream-like look photographs. This style is known as Orton Effect, and I’d argue it’s probably the most overused editing technique in landscape photography.
Origin

The effect was invented in the 1980s by Canadian photographer Michael Orton, who was known for experimenting with popularizing creative techniques like intentional camera movement (ICM), and of course his signature dreamy look.

The original process was simple; combine two photographs of the same scene, one sharply focused and one intentionally out of focus. When the two images were blended together, the result was a soft, but somehow still sharp image. The Orton effect wasn’t intended to be realistic, if you look at his online gallery, it’s clear it was meant to be artistic.
This is all in sharp contrast to what you see people calling the Orton Effect today, which is less about creating art, and more about creating a certain look to their otherwise realistic landscape images.
Why It Often Looks Wrong

The biggest issue isn’t the effect itself, it’s where and how it’s applied.
Light behaves according to the laws of physics and our eyes are able to tell something is off when that dreamy Orton glow is occurring across an entire image. Think about things that do glow in real life: the moon, mist on a lake, light peaking around. corner. In order for the Orton effect to look believable, the glow has to come from somewhere.

Another common mistake is applying the effect equally across the entire image. Real light doesn’t behave that way. Glow and luminance naturally falls off as you move away from the light source. If everything is glowing equally, the viewer will know something is off about the image.
The Right Way to Use the Orton Effect
Ironically, the best way to use the Orton Effect is often to use very little of it. Instead of applying it globally, think about where glow would naturally exist. The brightest part of your image should receive the strongest effect. This might include:
- The sun itself
- Bright clouds illuminated by the sun
- Light rays filtering through trees
- Backlit fog or mist
- A full moon
Those are all places where our eyes already expect to see diffused light. Everything else should remain relatively crisp.
By applying the Orton effect selectively, you preserve the realism of your photograph while also adding in that little touch of magical glow that makes the Orton effect look so special.
Step By Step in Photoshop
Step 1
First step to creating a realistic Orton effect is to select a good photo. This shot is from the Oregon Coast where we have just a little sun peaking through the clouds. Coastal images are usually great because there’s already haze in the air from the humidity.

Step 2
Next we need to create the Orton Effect Layer. Do this by creating a copy of the background layer, brightening it, adding saturation, and finally applying a blur.
A helpful tip is to apply a gaussian blur with the same number of megapixels as the camera you’re shooting with.


Step 3
Next we’ll want to add a black layer mask. This can be done by holding down alt/option and clocking on the add layer mask button.

Step 4
The final step in creating your realistic Orton Effect is to carefully brush in the effect on top of the background layer. Select a brush with the color white and make sure the hardness is set to 0, with a flow around 10%. Brush in around the light source and any other areas you think would benefit from the Orton Effect. You can combine this with luminosity masks or the object selection tool for more precise control.

Before and After of the Orton Effect


Use Physics as Your Guide
Before using the Orton Effect, ask yourself “Does this make sense?”
Instead of thinking about the Orton Effect as a style, think about it as a way to emphasize existing light that is already in your image. It’s a REALLY fun effect to use, just make sure you do so sparingly.
Images of mine that make use of the Orton effect.


Leave a Reply