
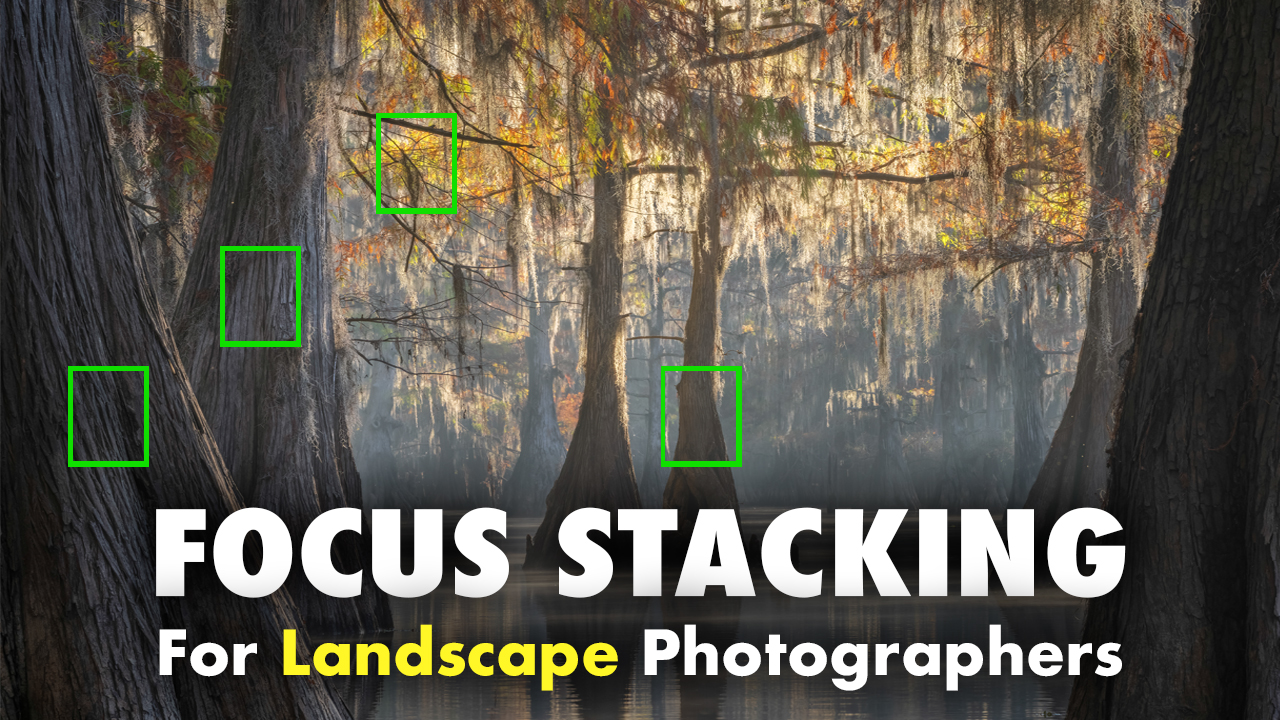
Have you ever wondered how professional photographers get those images with super close foregrounds that are razor sharp from front to back? You’ve probably tried it yourself: focus on the foreground, and the background goes blurry. Focus on the background, and the foreground goes soft. No matter what you do, something stays out of focus.
The solution is a technique called focus stacking, where you combine multiple images taken at different focus points into one final image that is in focus, from the front to the back. It sounds complicated, but is easy to do yourself once you understand the process.
Continue reading this article to learn everything about focus stacking, or watch the video below!
When should you focus stack?
Whether you need to focus stack depends on two things: your lens’s focal length and how close you are to your foreground.
With an ultra-wide lens, you can get quite close to a foreground without needing to stack anything. With a longer focal length, your depth of field shrinks dramatically, and getting everything in focus almost always requires stacking.

A common mistake: photographers set up a wide-angle lens on a tripod at standing height and focus stack anyway. In most cases, this accomplishes nothing; unless you’re shooting at f/2.8, everything in that scene is probably already in focus.
Focus stacking earns its keep when you’re getting genuinely close to your foreground, like placing your camera on the ground, or when working with a telephoto lens where depth of field is naturally shallow.
Sensor size matters too. The smaller the camera sensor, the greater the depth of field. Medium format cameras have the smallest depth of field, meaning you’ll need to focus stack more often. APS-C or crop sensors go the other way, with a greater depth of field, meaning you can get closer to your foreground before focus stacking becomes necessary.
Settings and technique
The biggest variable in your settings is aperture. A lower aperture means you’ll need more photos in your focus stack; a higher aperture means you’ll need fewer.

- Stationary subjects (shutter speed doesn’t matter): shoot at your lens’s sweet spot — typically f/5.6 to f/9 for a wide angle. This allows maximum sharpness.
- Subjects affected by movement, like flowers or branches in the wind: stop down to f/16. This captures more of the frame in focus per shot, meaning fewer photos overall and less risk of stitching errors.
Most modern cameras include built-in focus stacking tools that automate the shooting process (but NOT the merging). The naming varies by brand:
- Nikon: Focus Shift Shooting
- Sony, Canon, Fuji: Focus Bracketing
- Olympus: Focus Stacking

In these menus, you’ll typically set a step width and a number of shots. A step width of 4 works well for most scenarios, but may have to be adjusted higher for telephoto focus stacks. A lower step count is required only for macro photography.
The shot count you set your camera to doesn’t mean it will actually take that many photos, it simply tells the camera that up to that many is acceptable. In practice, that ceiling only gets approached when stacking with a telephoto lens, thus why you might want to change the step width to something wider when shooting telephoto.
To shoot the sequence, focus on the closest point in your frame, then start the focus stacking process.
Merging the images

Once you’ve captured your stack, it’s time to combine the images, and unfortunately this is where a lot of tutorials get it wrong. You may have heard that Photoshop is all you need. It isn’t. Photoshop can technically merge focus-stacked images, but it rarely does a clean job of it. Most of the time, photographers didn’t need to focus stack an image in the first place, resulting in a sharp photo regardless of if it was stacked or not.
The industry standard for focus stacking is Helicon Focus. It’s a paid, one-time purchase (no subscription), and while it isn’t free, the results are noticeably better than what Photoshop produces. I do not get paid by this company, however I am a happy user.
Helicon Focus Workflow:
Please see the above YouTube video. At the end, I go through this entire process.
- Do the bulk of your edits in Lightroom or Camera Raw, then sync those edits across all the images in the stack.
- Identify the last image that’s actually in focus. Cameras with built-in focus stacking often continue shooting a shot or two past infinity — delete those extras.
- Go to File > Export with Preset > Helicon Focus (TIFF).
A couple of things to watch for during retouching: wider-angle lenses are more prone to edge errors that need manual fixing, and clouds almost never line up properly between shots. If your image includes sky, plan on selecting the layer with the furthest focus and retouching the clouds by hand.
Photoshop VS Helicon
Below is a Depth Map of both Photoshop and Helicon Focus. The blurry one is photoshop. Notice how you can see what the image is with Helcion, and how it’s a blocky mess in Photoshop.


Images That Have Been Focus Stacked


Leave a Reply